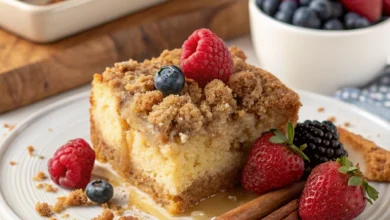
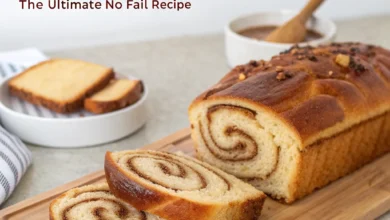
Master the Art of Dutch Oven Bread: Easy Recipes and Pro Tips
There is a unique magic in pulling a golden-brown, crackling loaf of bread out of a heavy pot. If you’ve been searching for Dutch oven bread recipes, you likely want two things: that signature “artisan bakery” crust and a recipe that doesn’t require a degree in culinary arts.
In this guide, we will break down why the Dutch oven is the secret weapon of home bakers, provide a foolproof base recipe, and answer the most common questions to ensure your first loaf is a success.
Table of Contents
Why Use a Dutch Oven for Bread?
Before diving into the flour and water, it’s important to understand why this method works.
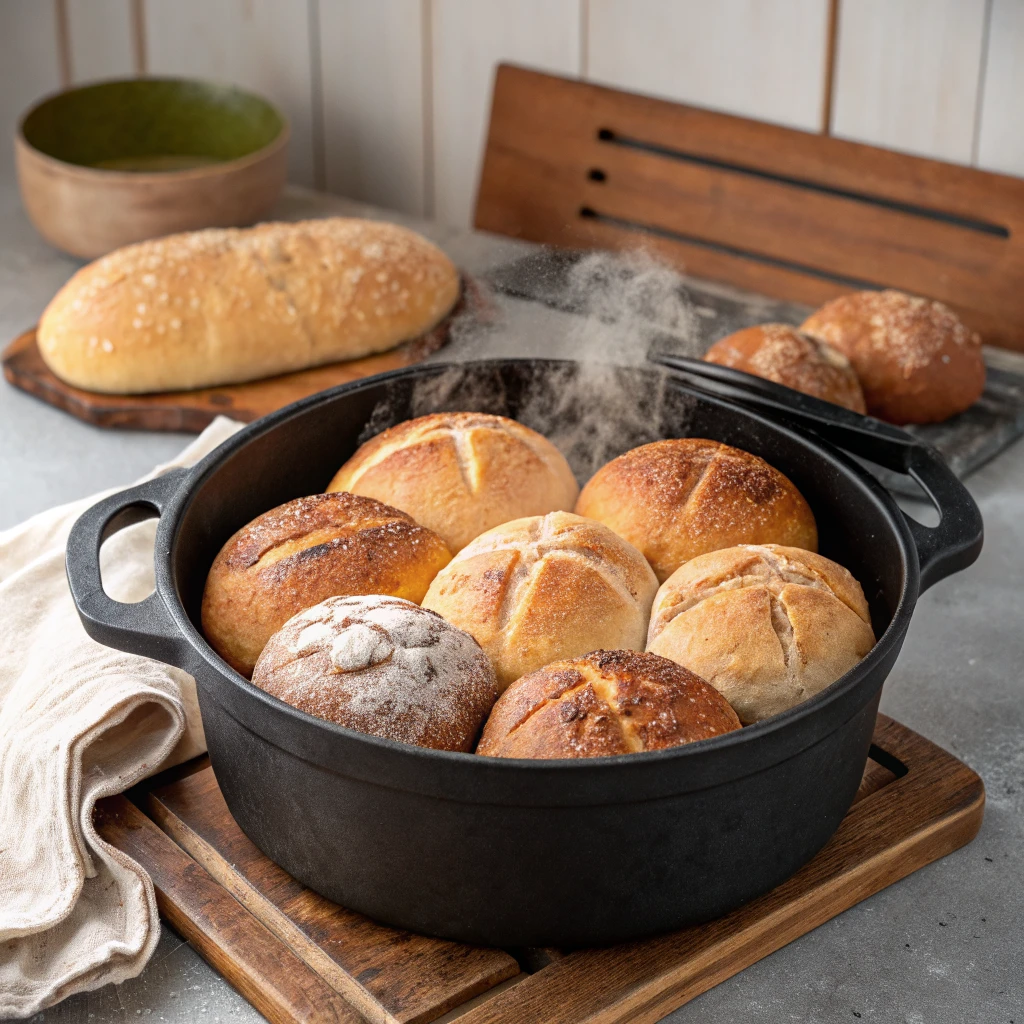
The secret to professional bread is steam. In commercial bakeries, ovens have steam injectors. At home, a Dutch oven mimics this environment. As the dough heats up, it releases moisture. The heavy lid traps that moisture, keeping the surface of the dough supple. This allows the bread to expand fully (the “oven spring”) before the crust sets.
The result? A light, airy interior and a thin, shatteringly crisp crust.
The The Ultimate No-Knead Dutch Oven Bread
This recipe is the perfect starting point. It requires only four ingredients and about five minutes of active work.
Ingredients:
- All-Purpose or Bread Flour: 3 cups (400g)
- Warm Water: 1 ½ cups (350ml)
- Salt: 1 ½ teaspoons
- Active Dry Yeast: ½ teaspoon
Step-by-Step Instructions:
- The Mix: In a large bowl, whisk the flour, salt, and yeast. Pour in the warm water and stir with a wooden spoon until a shaggy ball forms.
- The Rise: Cover the bowl with plastic wrap or a damp cloth. Let it sit at room temperature for 12 to 18 hours. The dough will double in size and be covered in tiny bubbles.
- The Preheat: Place your empty Dutch oven (with the lid) into the oven and preheat to 450°F (230°C).
- The Shape: Turn the dough onto a floured surface. Fold it over itself a few times and shape it into a ball. Place it on a piece of parchment paper.
- The Bake: Carefully lift the parchment paper and drop the dough into the hot Dutch oven. Cover with the lid and bake for 30 minutes.
- The Finish: Remove the lid and bake for another 10–15 minutes until the crust is deep golden brown.
- The Wait: Let the bread cool on a wire rack for at least 30 minutes before slicing. Cutting too early releases steam and can make the inside gummy!
Common Questions and Troubleshooting
Do I need to grease the Dutch oven?
No. Because you are preheating the pot to a high temperature, the bread is unlikely to stick. Using parchment paper is the safest method—it makes it easy to transfer the dough and prevents any potential sticking.
Can I use a Dutch oven with a knob?
Check the temperature rating of your pot’s lid knob. Some plastic or phenolic knobs are only safe up to 375°F. If your recipe calls for 450°F, you may need to unscrew the knob or replace it with a stainless steel version.
Why is my bread dense?
Density usually comes from two things:
- Expired Yeast: Always check that your yeast is active.
- Too Much Flour: If you scoop flour directly with a measuring cup, you often pack it down. For best results, use a kitchen scale or “fluff” the flour before spooning it into the cup.
Advanced Variations to Try
Once you have mastered the basic loaf, you can customize your Dutch oven bread recipes:
- Roasted Garlic & Rosemary: Mix in 3 cloves of minced roasted garlic and 1 tablespoon of fresh rosemary during the initial mixing phase.
- Honey Wheat: Replace 1 cup of white flour with whole wheat flour and add 1 tablespoon of honey to the water.
- The Jalapeño Cheddar: Fold in ½ cup of shredded sharp cheddar and 2 tablespoons of diced jalapeños before the final rise.
Conclusion
You don’t need expensive equipment or years of experience to bake incredible bread at home. By using a Dutch oven, you’re leveraging physics to create the perfect environment for dough to thrive.
Start with the basic no-knead recipe, be patient with the rise time, and soon your kitchen will smell like a professional boulangerie. Happy baking!