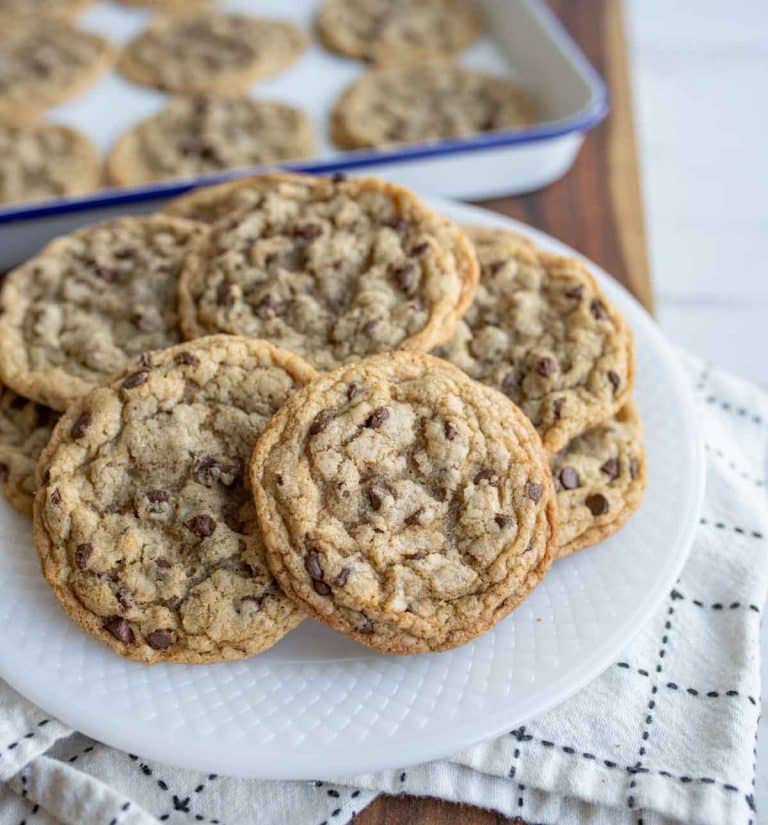
How to Make Perfect Brown Butter Chocolate Chip Cookies
If you’re searching for the ultimate chocolate chip cookie that goes beyond ordinary, these brown butter chocolate chip cookies are about to become your new obsession. The secret lies in browning the butter, a simple technique that transforms regular cookies into something extraordinary with deep, nutty caramel notes that pair beautifully with melty chocolate chips.
These cookies strike the perfect balance between chewy centers and slightly crisp edges. The brown butter adds a sophisticated depth of flavor that makes every bite memorable. Whether you’re baking for a special occasion or simply treating yourself, this recipe delivers bakery-quality results right from your home kitchen.
Table of Contents
What Makes Brown Butter Special
Browning butter is a game-changing technique that elevates ordinary baked goods into something spectacular. When you heat butter past its melting point, the milk solids begin to toast and caramelize, creating complex nutty flavors with hints of toffee and hazelnut. This process, known as beurre noisette in French cooking, adds incredible depth to chocolate chip cookies without requiring any unusual ingredients.
The transformation happens quickly. As butter melts and simmers, it goes from golden yellow to amber brown, filling your kitchen with an intoxicating aroma. This extra step takes just minutes but makes all the difference in creating cookies that taste like they came from an artisan bakery.
Ingredients You’ll Need
For the Brown Butter
Unsalted butter (1 cup or 2 sticks)
For the Cookie Dough
Light brown sugar (3/4 cup, packed)
Granulated white sugar (1/2 cup)
Large eggs (2, at room temperature)
Pure vanilla extract (2 teaspoons)
All-purpose flour (2 and 1/4 cups)
Baking soda (1 teaspoon)
Fine sea salt (1 teaspoon)
Semi-sweet chocolate chips (2 cups)
Flaky sea salt for topping (optional but recommended)
How to Make Brown Butter Chocolate Chip Cookies
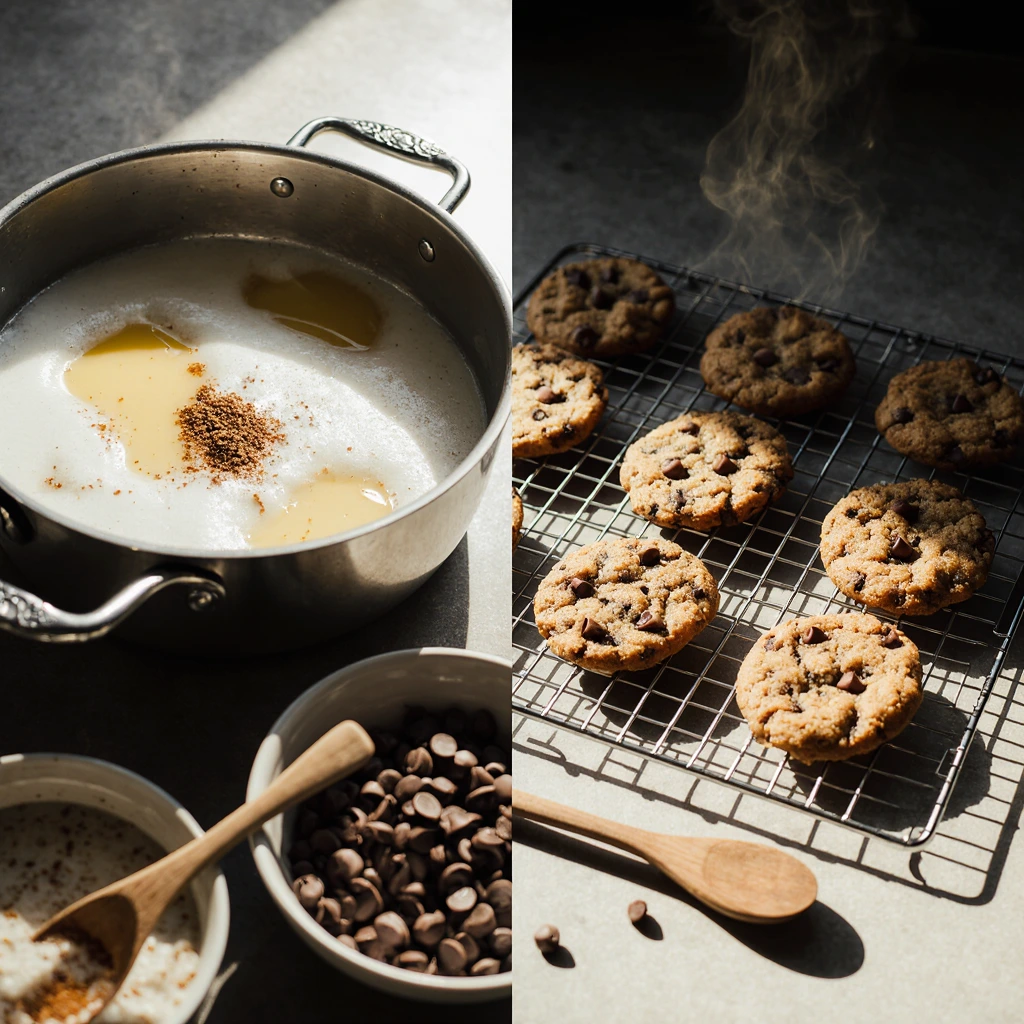
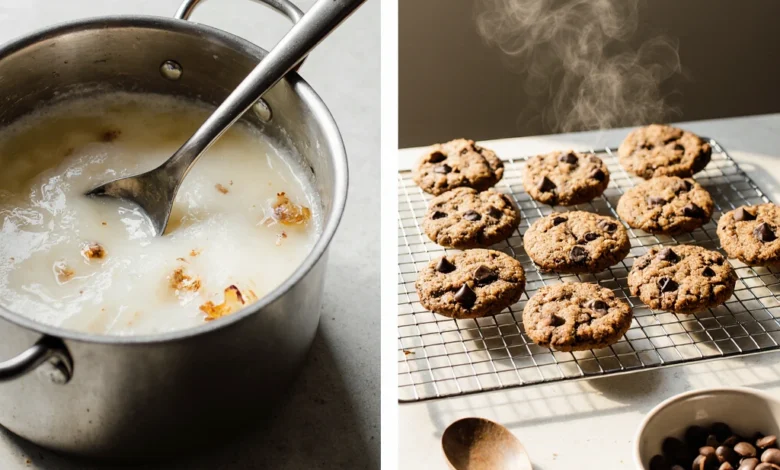
Step 1: Brown the Butter
Place the butter in a light-colored saucepan over medium heat. Using a light-colored pan helps you monitor the color change more easily. Stir constantly as the butter melts and begins to foam. Continue cooking while stirring, watching carefully as the butter turns from yellow to golden to a rich amber brown color. You’ll notice brown specks forming at the bottom of the pan and a wonderful nutty aroma filling your kitchen.
Once the butter reaches a deep golden brown color and smells toasty, immediately remove it from the heat. Pour the brown butter into a heatproof bowl, making sure to scrape all the flavorful browned bits from the bottom of the pan. Allow the butter to cool to room temperature, which takes about 30 to 45 minutes. You can speed this up by placing the bowl in the refrigerator, but watch it carefully to ensure it doesn’t solidify completely.
Step 2: Mix the Wet Ingredients
In a large mixing bowl, combine the cooled brown butter with both the light brown sugar and granulated sugar. Using an electric mixer or a wooden spoon, beat the mixture until well combined and slightly fluffy, about 2 minutes. The mixture should appear smooth with no visible butter chunks.
Add the eggs one at a time, beating well after each addition. Pour in the vanilla extract and mix until everything is thoroughly incorporated. The mixture should look creamy and cohesive.
Step 3: Combine the Dry Ingredients
In a separate medium bowl, whisk together the all-purpose flour, baking soda, and salt. This ensures the leavening agent and salt are evenly distributed throughout the flour, which helps your cookies bake uniformly.
Step 4: Bring the Dough Together
Gradually add the dry ingredients to the wet ingredients, mixing on low speed or stirring by hand just until no flour streaks remain. Be careful not to overmix, as this can lead to tough cookies. Fold in the chocolate chips, distributing them evenly throughout the dough.
Step 5: Chill the Dough
Cover the bowl with plastic wrap or transfer the dough to an airtight container. Refrigerate for at least 2 hours, or up to 3 days. Chilling the dough is essential for several reasons: it allows the flavors to develop and meld together, prevents excessive spreading during baking, and helps create those desirable thick, chewy cookies with crispy edges.
Step 6: Prepare for Baking
When you’re ready to bake, preheat your oven to 350 degrees Fahrenheit. Line two baking sheets with parchment paper or silicone baking mats to prevent sticking and ensure even browning.
Step 7: Shape and Bake
Scoop the chilled dough into portions using a cookie scoop or spoon, forming balls about 2 tablespoons in size. Place them on the prepared baking sheets, leaving about 2 inches of space between each cookie to allow for spreading.
Bake for 11 to 13 minutes, until the edges are golden brown but the centers still look slightly underdone. The cookies will continue baking on the hot pan after you remove them from the oven, so slightly underbaking ensures a chewy texture.
Step 8: Finish and Cool
As soon as you remove the cookies from the oven, sprinkle them lightly with flaky sea salt if desired. This adds a gourmet touch and enhances all the flavors. Let the cookies cool on the baking sheet for 5 minutes, then transfer them to a wire cooling rack to cool completely.
Expert Tips for Perfect Brown Butter Cookies
Watch the butter carefully while browning. The transition from perfectly browned to burnt happens quickly, so stay attentive and remove the pan from heat as soon as you achieve a deep amber color.
Make sure your brown butter has cooled adequately before mixing it with the sugars. Hot butter can start cooking the eggs, resulting in an undesirable texture.
Don’t skip the chilling step. This resting period is crucial for developing flavor and achieving the ideal texture. For even better results, chill the dough overnight.
Use room temperature eggs for better incorporation into the dough. Cold eggs can cause the brown butter to solidify into small chunks.
Slightly underbake your cookies if you prefer a chewier texture. They’ll firm up as they cool but maintain that soft, gooey center.
For uniform cookies, use a cookie scoop. This ensures each cookie is the same size and bakes evenly.
Rotate your baking sheets halfway through baking time for even browning, especially if your oven has hot spots.
Storage and Make-Ahead Instructions
Store baked cookies in an airtight container at room temperature for up to 5 days. Place a slice of bread in the container to help maintain moisture and keep cookies soft.
The cookie dough freezes beautifully. Scoop dough into balls, freeze them on a baking sheet until solid, then transfer to a freezer bag. Frozen dough balls can be baked directly from the freezer, adding 1 to 2 extra minutes to the baking time.
You can also freeze the dough in bulk in an airtight container for up to 3 months. Thaw in the refrigerator overnight before scooping and baking.
Baked cookies also freeze well. Layer them between sheets of parchment paper in a freezer-safe container for up to 3 months. Thaw at room temperature for about 30 minutes before serving.
Customization Ideas
While these cookies are perfect as written, you can customize them to suit your preferences:
Mix different types of chocolate chips, such as dark chocolate, milk chocolate, and white chocolate for variety.
Add chopped toasted nuts like pecans, walnuts, or macadamia nuts for extra crunch and flavor.
Stir in a tablespoon of instant espresso powder to the dry ingredients for mocha-flavored cookies.
Include toffee bits or caramel chips along with the chocolate for additional sweetness and texture.
Replace half the chocolate chips with butterscotch chips for a unique flavor combination.
Add a pinch of cinnamon or cardamom to the dough for a warm, spiced variation.
Frequently Asked Questions
Why do my brown butter cookies spread too much?
Excessive spreading usually happens when the dough isn’t chilled long enough or when the butter is too warm when mixed. Make sure to chill your dough for at least 2 hours and ensure the brown butter has cooled completely to room temperature before incorporating it into the dough.
Can I use salted butter instead of unsalted?
You can, but reduce the added salt in the recipe to half a teaspoon. Using unsalted butter gives you better control over the final salt content in your cookies.
What if my brown butter solidifies too much?
If your brown butter becomes too hard after cooling, simply let it sit at room temperature until it softens to a spreadable consistency, similar to softened butter. You can also gently warm it in the microwave for a few seconds, but be careful not to melt it completely.
How do I know when the butter is properly browned?
Properly browned butter has a deep amber or golden brown color and smells intensely nutty and toasty. You’ll see dark brown specks at the bottom of the pan. If it smells burnt or turns very dark brown or black, you’ve gone too far and should start over.
Can I make these cookies without chilling the dough?
While you technically can bake the dough immediately, chilling dramatically improves the flavor and texture. If you’re short on time, chill for at least 30 minutes, but longer is better.
Why are my cookies cakey instead of chewy?
Cakey cookies often result from too much flour or overbaking. Make sure you’re measuring flour correctly by spooning it into the measuring cup and leveling it off. Also, try reducing the baking time slightly and removing cookies when the centers still look slightly underdone.
Can I double this recipe?
Absolutely. This recipe doubles beautifully. Just make sure you have a large enough bowl and consider browning the butter in batches if your saucepan isn’t large enough to accommodate all of it at once.
What’s the best way to achieve thick cookies?
Chilling the dough thoroughly, using room temperature eggs, and not overmixing the dough all contribute to thick cookies. You can also try refrigerating the dough balls on the baking sheet for 10 minutes before baking for extra thickness.
Why These Cookies Are Worth Making
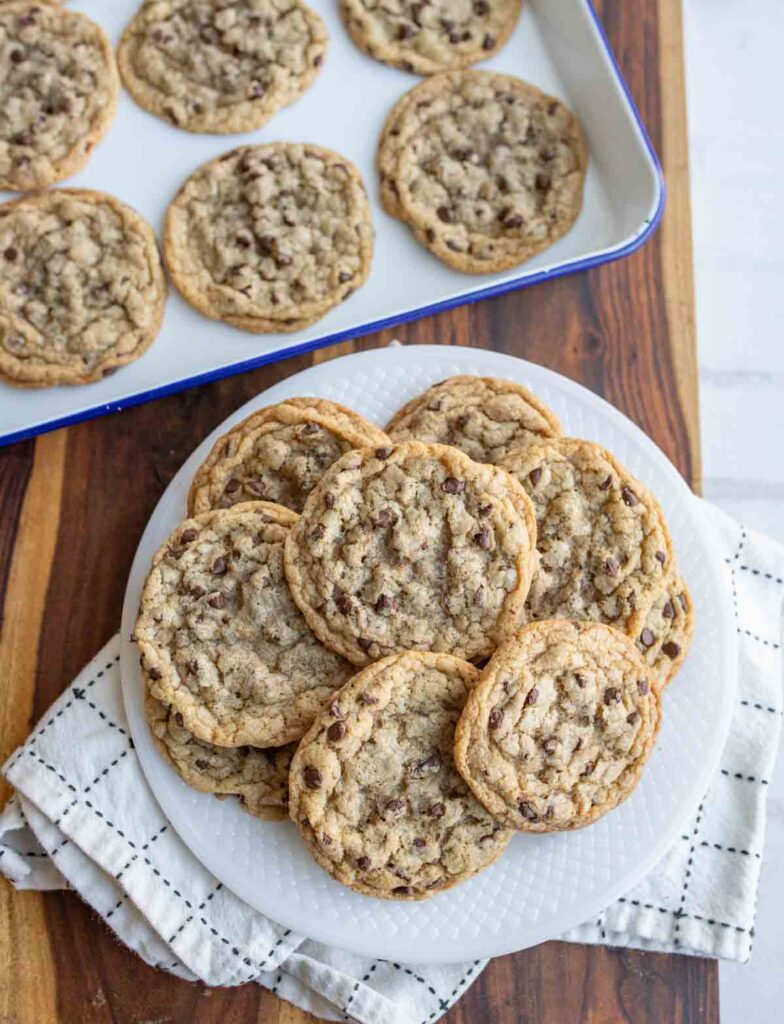
These brown butter chocolate chip cookies represent everything a great cookie should be. The nutty richness of brown butter creates depth and complexity that regular chocolate chip cookies simply can’t match. The combination of crispy edges and chewy centers delivers the perfect textural contrast in every bite.
This recipe proves that sometimes one simple technique can completely transform a classic recipe. The extra few minutes spent browning butter elevates these cookies from ordinary to extraordinary. They’re impressive enough to serve at gatherings yet simple enough for any day of the week.
Once you taste the difference that brown butter makes, you’ll find yourself wanting to add it to all your favorite baked goods. These cookies set a new standard for what chocolate chip cookies can be, combining nostalgic comfort with sophisticated flavor that appeals to both kids and adults alike.
Take the time to make these brown butter chocolate chip cookies, and you’ll understand why this technique has become a favorite among home bakers and professional pastry chefs. They’re not just cookies—they’re an experience worth savoring.
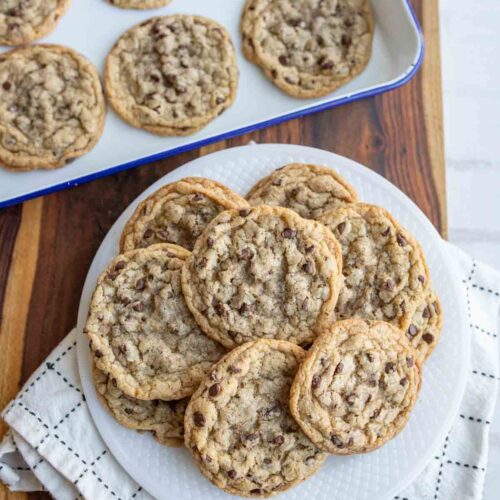
Brown Butter Chocolate Chip Cookies
Ingredients
- 1 ¾ cups all-purpose flour
- ½ teaspoon baking soda
- 14 tablespoons unsalted butter divided
- ¾ cup dark brown sugar packed
- ½ cup granulated sugar
- 2 teaspoons vanilla extract
- 1 teaspoon salt
- 1 large egg
- 1 large egg yolk
- 1 ¼ cups chocolate chips
Instructions
- Set your oven to 375°F (190°C) and let it preheat while you prepare the cookie dough.
- Line two baking sheets with parchment paper to ensure easy removal of cookies and easy cleanup.
- Place a medium saucepan on the stove and add 10 tablespoons of unsalted butter. Heat it over medium-high heat.
- Stir the butter constantly. It will melt, then foam, then turn a clear golden before finally turning a toasty brown with a nutty aroma. Keep a close watch as it can burn quickly.
- Immediately transfer the browned butter to a large mixing bowl to stop the cooking process.
- Add the remaining 4 tablespoons of unsalted butter to the hot brown butter, and stir until completely melted.
- Whisk in ¾ cup of dark brown sugar, ½ cup of granulated sugar, 2 teaspoons of vanilla extract, and 1 teaspoon of salt until well combined.
- Add in one whole egg and one egg yolk. Whisk the mixture until smooth.
- Let the mixture sit undisturbed for 3 minutes, then whisk for 30 seconds. Repeat this resting and whisking process two more times. This step helps in achieving a shiny and chewy texture.
- In the same bowl, gently fold in 1 ¾ cups of all-purpose flour and ½ teaspoon of baking soda until just combined. Be cautious not to over-mix.
- Stir in 1 ¼ cups of chocolate chips, ensuring they are evenly distributed throughout the dough.
- Use a cookie scoop or a spoon to portion out the cookie dough onto the prepared baking sheets. Ensure there is adequate space between each portion to allow for spreading during baking.
- Place the baking sheets in the preheated oven. Bake for 10-14 minutes, or until the edges are golden brown but the centers are still soft.
- Allow the cookies to cool on the baking sheets for a few minutes before transferring them to a wire rack to cool completely.
Notes
- Pay close attention during this step as the butter can go from browned to burnt quickly. The browned butter should have a rich, nutty aroma.
- These cookies are best when the edges are slightly crispy, and the centers remain soft and chewy. Adjust the baking time according to your oven and preference.
- Store the cookies in an airtight container at room temperature for up to a week. They can also be frozen for longer storage.
- Feel free to experiment with mix-ins, like adding chopped nuts or using different types of chocolate chips or chunks for a variety of textures and flavors.