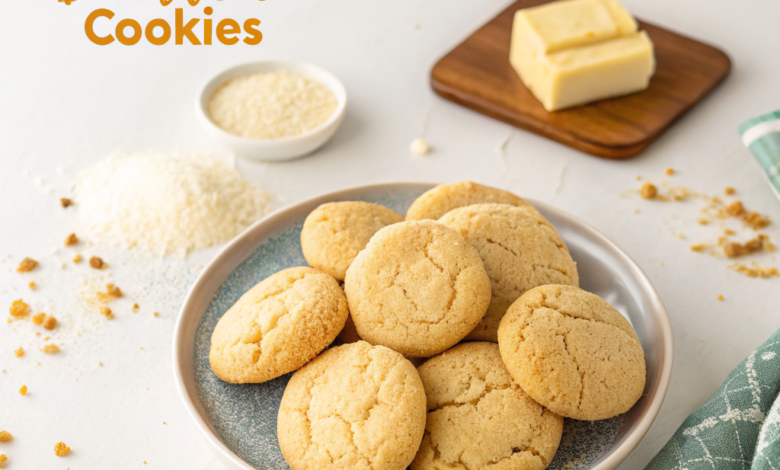
Easy Homemade Butter Cookie Recipe
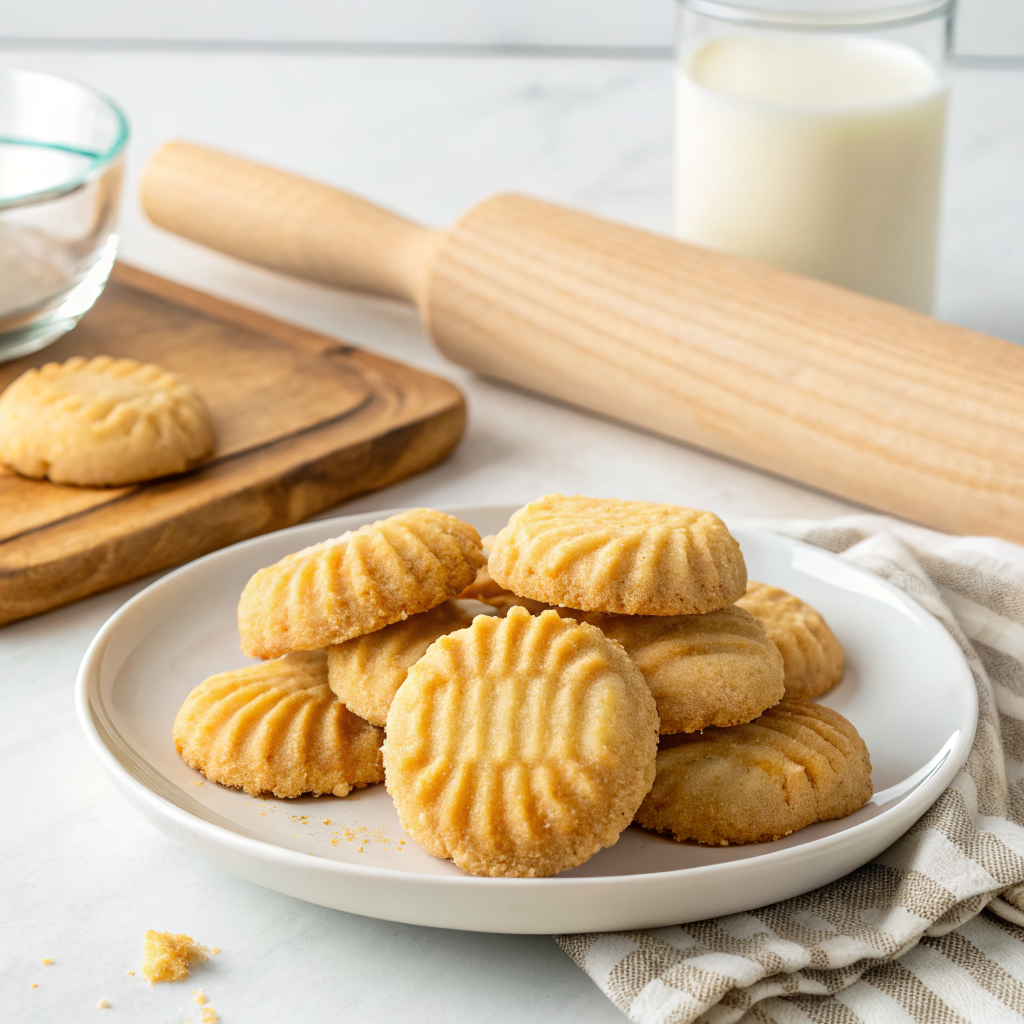
If you are looking for that classic, bakery-style butter cookie—the kind characterized by a rich golden color, a delicate snap, and a flavor that prioritizes high-quality butter above all else—you’ve come to the right place.
The beauty of a butter cookie lies in its simplicity. Unlike chocolate chip cookies that rely on mix-ins, the butter cookie relies on technique and the quality of its base ingredients. In this guide, we will walk you through a foolproof recipe, answer common troubleshooting questions, and provide tips for achieving that perfect professional finish.
Table of Contents
What Makes a Butter Cookie Different?
Before we dive into the recipe, it’s important to understand what sets the butter cookie apart from its cousins, the shortbread and the sugar cookie:
- Shortbread: Contains no leavening (like baking powder) and usually no eggs. It is crumbly and dense.
- Sugar Cookie: Contains more flour and often leavening agents, resulting in a softer, pillowy texture.
- Butter Cookie: Strikes a balance. It has a higher butter-to-flour ratio than sugar cookies and usually includes an egg yolk for richness and structure, allowing it to hold intricate piped shapes.
Simple Homemade Butter Cookie Recipe
This recipe yields a sturdy yet tender dough that is perfect for piping through a star tip or using a cookie press.
Ingredients
- 1 cup (226g) Unsalted Butter: High-quality European-style butter (like Kerrygold) is recommended for the best flavor. Ensure it is softened to room temperature.
- ¾ cup (150g) Granulated Sugar: Fine sugar incorporates best.
- 1 Large Egg: At room temperature.
- 2 teaspoons Pure Vanilla Extract: You can also add ½ teaspoon of almond extract for a professional “bakery” aroma.
- 2 ¼ cups (280g) All-Purpose Flour: Sifted to avoid lumps.
- ½ teaspoon Salt: To balance the sweetness.
- 1-2 tablespoons Milk (Optional): Only if the dough is too stiff to pipe.
Step-by-Step Instructions
1. Cream the Butter and Sugar
In a large bowl or stand mixer, beat the softened butter and sugar together on medium-high speed for about 2–3 minutes. You are looking for a pale, fluffy consistency. This aeration is what gives the cookie its light snap.
2. Add Wet Ingredients
Add the egg and vanilla extract. Beat until fully incorporated, scraping down the sides of the bowl to ensure everything is mixed evenly.
3. Incorporate Dry Ingredients
Turn the mixer to low. Gradually add the sifted flour and salt. Mix just until the white streaks of flour disappear. Do not overmix, as this develops gluten and makes the cookies tough.
4. Shape the Cookies
- For Piped Cookies: Transfer the dough to a pastry bag fitted with a large star tip (like Wilton 1M). Pipe “rosettes” or “swirls” onto a baking sheet lined with parchment paper.
- For Chilled/Cut Cookies: Wrap the dough in plastic, chill for 1 hour, then roll out and use cookie cutters.
5. Chill Before Baking (Crucial Step)
Place the tray of shaped cookies in the fridge for at least 20–30 minutes. Chilling the fat ensures the cookies hold their shape and don’t spread into flat puddles in the oven.
6. Bake
Preheat your oven to 350°F (175°C). Bake for 10–12 minutes or until the edges are just barely golden brown. Let them cool on the baking sheet for 5 minutes before transferring to a wire rack.
Common Questions & Troubleshooting
Why did my butter cookies spread so much?
Spreading usually happens for two reasons: the butter was too greasy/melted before baking, or the oven wasn’t hot enough. Always chill your dough shapes before they hit the oven to “lock” the design in place.
Can I use salted butter?
Yes! If using salted butter, simply omit the extra ½ teaspoon of salt called for in the recipe.
How do I get the “Bakery Look”?
For a professional finish, dip half of the cooled cookie into melted semi-sweet chocolate and top with colorful sprinkles or finely crushed nuts.
Tips for Success
- Use Room Temperature Eggs: Cold eggs can curdle the creamed butter. If you forgot to take your egg out, place it in a bowl of warm water for 5 minutes.
- Measure Flour Correctly: Use a kitchen scale for the most accurate results. If using cups, “spoon and level” the flour—don’t scoop directly from the bag, which packs the flour down and leads to dry cookies.
- Storage: These cookies stay fresh in an airtight container for up to 7 days. They also freeze beautifully for up to 3 months.
Final Thoughts
The perfect butter cookie is a staple for any home baker. Whether you are making them for a holiday platter or a simple afternoon tea, the key is quality ingredients and patience during the chilling process. Happy baking!