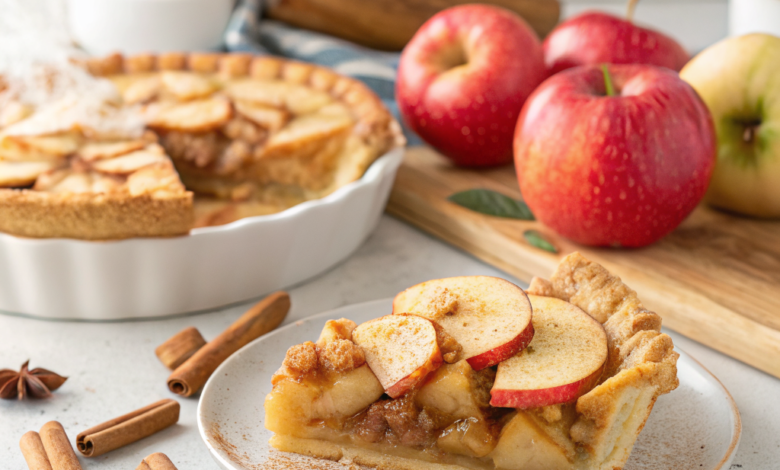
Easy Homemade Apple Pie Filling Recipe
Whether you are preparing a traditional holiday feast or satisfying a weekend craving, nothing beats the aroma of cinnamon and simmered apples. While store-bought cans are convenient, a homemade apple pie filling recipe offers a depth of flavor, controlled sweetness, and a perfect texture that commercial versions simply can’t match.
In this guide, we will show you how to make a bakery-quality filling from scratch, answer the most common baking questions, and provide tips for storing your creation.
Table of Contents
Why Make Your Own Apple Pie Filling?
Most people search for an apple pie filling recipe because they want to avoid the “mushy” texture and artificial aftertaste found in canned options. By making it yourself, you can:
- Control the Sweetness: Adjust the sugar based on how tart your apples are.
- Perfect the Texture: Choose how soft or crisp you want your fruit.
- Custom Spices: Amp up the nutmeg or add a splash of bourbon for a signature twist.
The Best Apples for Pie Filling
Before jumping into the recipe, the most important step is choosing the right fruit. You need an apple that holds its shape under heat.
- Granny Smith: The gold standard. They are tart and firm, ensuring your pie isn’t cloyingly sweet.
- Honeycrisp: Naturally sweet and very crunchy; they hold up beautifully.
- Braeburn or Jonagold: These offer a balanced flavor and won’t turn into applesauce in the oven.
Pro Tip: Use a mix of two different types of apples for a more complex flavor profile.
Simple Apple Pie Filling Recipe
This recipe is designed to be used immediately in a pie, stored in the fridge, or frozen for later use.
Ingredients
- 6-7 Large Apples: Peeled, cored, and sliced (about 1/4 inch thick).
- 2 tbsp Lemon Juice: Prevents browning and balances the sugar.
- 1/2 cup Granulated Sugar: For sweetness.
- 1/4 cup Brown Sugar: For a deep, caramel-like flavor.
- 3 tbsp Cornstarch: The thickening agent for that perfect “gel” texture.
- 1 tsp Ground Cinnamon: The essential pie spice.
- 1/4 tsp Ground Nutmeg: Adds warmth.
- 1/2 cup Water or Apple Cider: For the stovetop simmer.
- 1 tbsp Butter: Adds a silky finish to the sauce.
Instructions
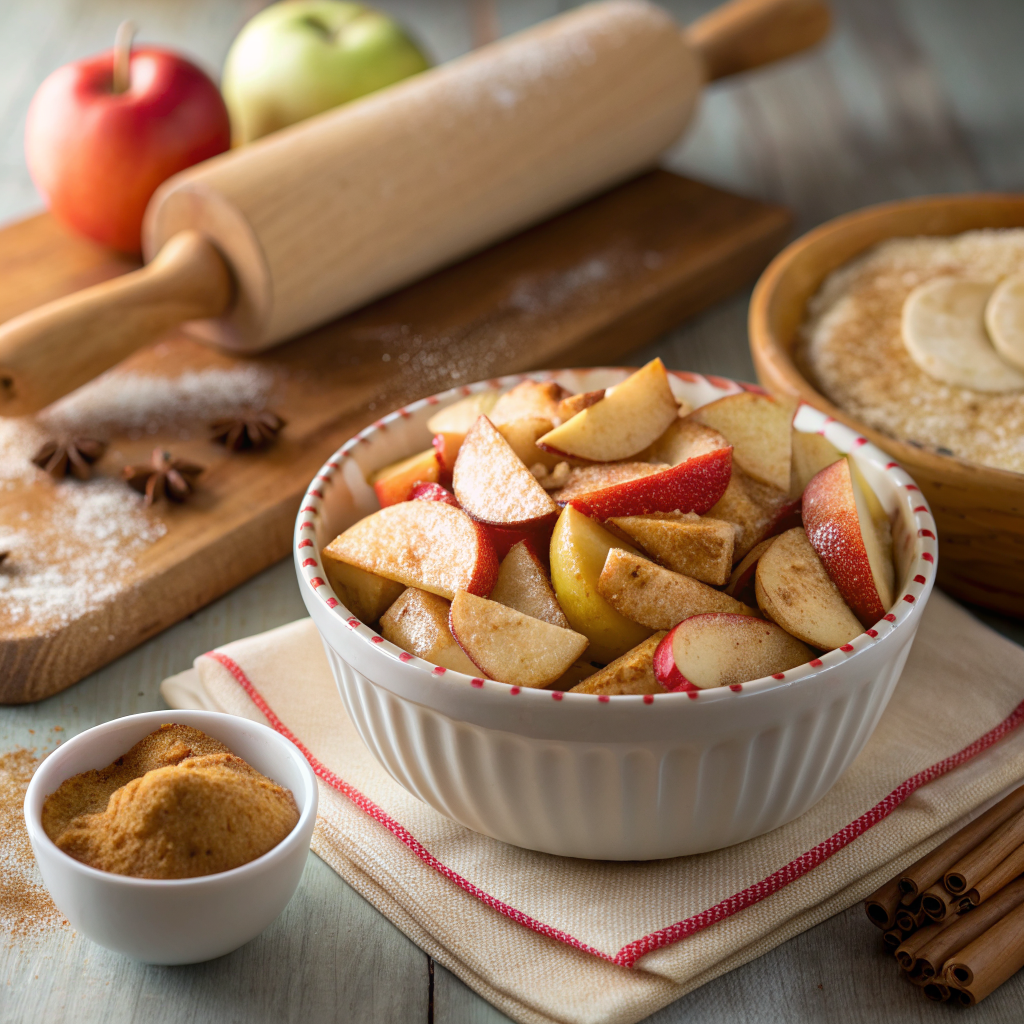
1. Prep the Apples
Toss your sliced apples in the lemon juice immediately after cutting. This keeps them bright and adds a necessary hit of acidity.
2. Create the Sauce
In a large pot or Dutch oven, whisk together the sugars, cornstarch, cinnamon, nutmeg, and water (or cider). Bring the mixture to a simmer over medium heat, stirring constantly until it begins to thicken.
3. Simmer the Fruit
Add the apples to the pot. Cover and cook for about 6–8 minutes. You want the apples to soften slightly but still have a “bite” to them. They will finish cooking completely once the pie is in the oven.
4. The Finishing Touch
Remove from heat and stir in the butter. Let the filling cool completely before adding it to a raw pie crust. Putting hot filling into a cold crust will result in a “soggy bottom.”
Frequently Asked Questions (FAQs)
How do I stop my apple pie from being watery?
Watery filling usually happens because the apples release their juices during baking. Using cornstarch or tapioca starch in your filling recipe acts as a sponge, turning those juices into a thick, delicious syrup. Pre-cooking the filling (as done in this recipe) also helps evaporate excess moisture.
Can I freeze homemade apple pie filling?
Yes! This is a great way to meal prep. Lay the cooled filling in a heavy-duty freezer bag, squeeze out the air, and freeze for up to 6 months. Thaw in the refrigerator overnight before using.
Do I have to peel the apples?
While some rustic recipes leave the skins on, most prefer peeled apples for a uniform, soft texture. Apple skins can become tough and “papery” after baking.
Can I use this for things other than pie?
Absolutely. This filling is excellent as a topping for:
- Vanilla ice cream
- Overnight oats or oatmeal
- Pancakes and waffles
- Cheesecake topping
Advanced Tips for the Perfect Fill
- The “Salt” Factor: Always add a pinch of salt to your fruit fillings. It doesn’t make the pie salty; instead, it enhances the natural flavors of the apple and spices.
- The Slice Width: If you like a “tall” pie with lots of height, slice your apples thicker. If you prefer a dense, compact pie, slice them thin.
- Avoid the Gap: Have you ever baked a pie only to find a hollow space between the crust and the fruit? This happens when the fruit shrinks during baking. Pre-cooking your filling (the method used in this recipe) solves this problem by shrinking the fruit before it goes into the crust.
Final Thoughts
Making a homemade apple pie filling is a simple skill that elevates your baking from “okay” to “extraordinary.” By choosing the right apples and pre-thickening your sauce on the stove, you guarantee a perfect slice every single time.
Ready to bake? Grab some Granny Smiths and get started!


One Comment